Learn how to configure squid proxy yourself and save money on private proxies. It’s actually quite easy to do as you will see in our Squid proxy tutorial.
No time to set up proxies? Easily buy from squid private proxy from trusted proxy seller.
Private proxies are becoming more important in the modern age. There are many services that offer private proxies, but you can get a better deal going with your own personal private proxy.
- Read more: What is the Private proxy?
Usually, you can find cheaper servers and by installing your own proxy, you end up with a cheaper service that’s 100% private as no one knows about it but you.
There are many benefits to it, like actually having a truly private proxy server. No matter what people say, you can never be sure that you are actually getting a truly private proxy server. In this tutorial, I’ll go over the necessary steps to get your Squid proxy installation up and running.
Table of Contents
You get to have your own proxy running on your own server that is controlled by you. You never have to worry about anyone else seeing your data and you can use this proxy for whatever you want.
If you have concerns about squid proxy you don’t have to worry. Most proxy services are simply running their own version of squid proxy and you can too.
You get the chance to save a bundle by finding cheap servers. You could even set up and run your own private proxy server for cheaper than the cost of paying for one from someone else.
For this tutorial, I’ll assume that you understand how to use the Linux command line. You should know how to go into your VPS and work on the command line without any issues. You will be required to log in and install squid from the command line and also work with a command-line based text editor.
What Is Squid Proxy
Squid is a full-featured HTTP proxy and cache server. It’s a powerful set of tools to help you stay anonymous on the internet as well as act as a reverse proxy in front of a web server such as Apache and Nginx.
Squid can also work with proxying and caching of SSL connections so you never have to worry about your data traveling over the internet unencrypted.
It supports a wide array of caching protocols but for our purposes, it doesn’t really matter. What we’ll be doing is simply using Squid as a proxy server. We sent a request and it carries out that internet request for us.
Squid Proxy Installation and Configuration
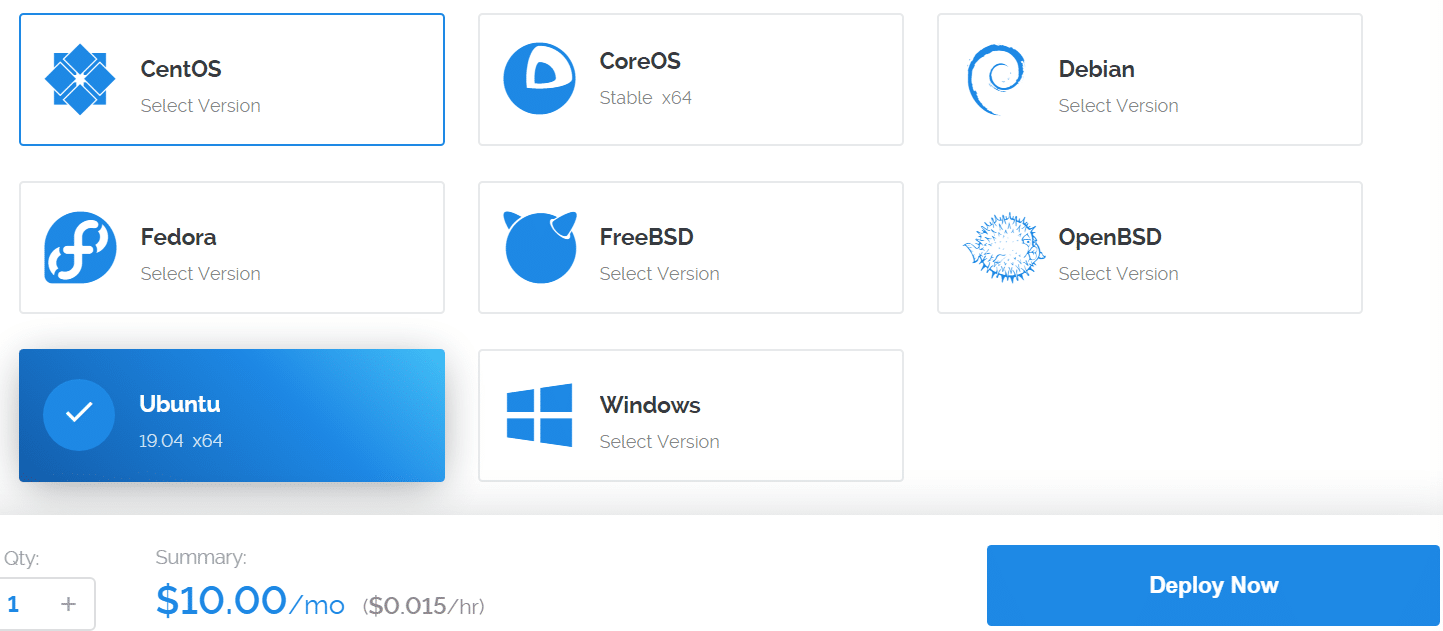
The first step in installing Squid Proxy is to get your VPS server. It can be any server host you want as long as you have SSH access and the ability to install apps.
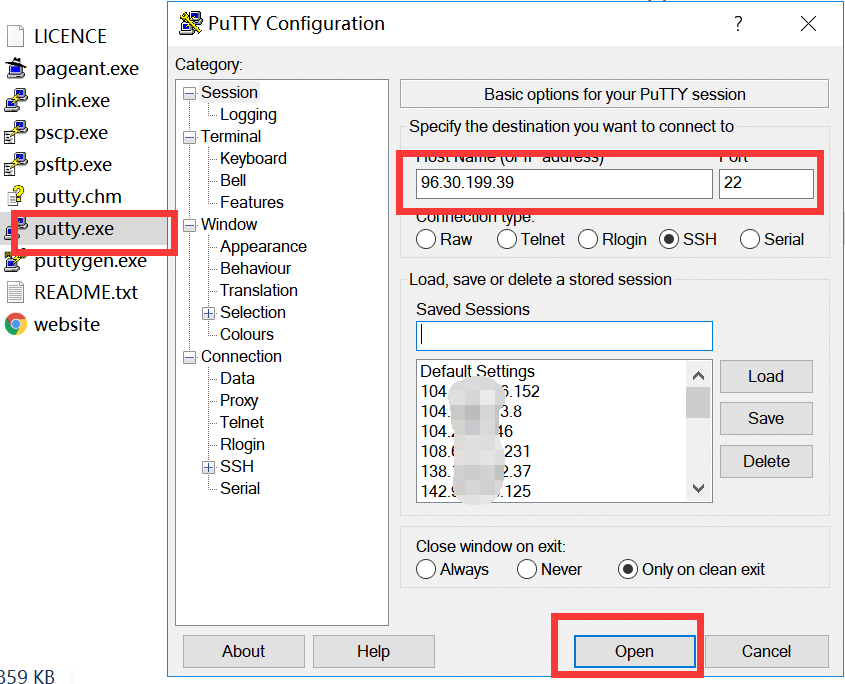
Once you have gotten your VPS or dedicated server up and running we can get started. This tutorial will be for Ubuntu but these instructions should translate well to Debian and with minor tweaking, you should get Squid proxy up and running for RPM-based distros like CentOS as well.
So let’s get started.
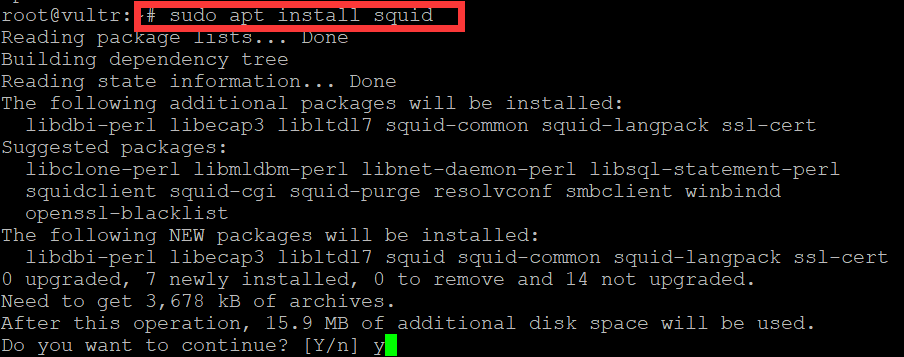
Step 1 Installation
We will start by installing squidproxy. This is as simple as entering the commands below. You can omit the sudo if you’re logged in as root, but it is not recommended to work as root. So if you’re using the root account then use at your own peril.
sudo apt install squid
Step 2 Configuration
Now that we’ve installed Squid, It’s time to actually configure it and get it to work the way you want.
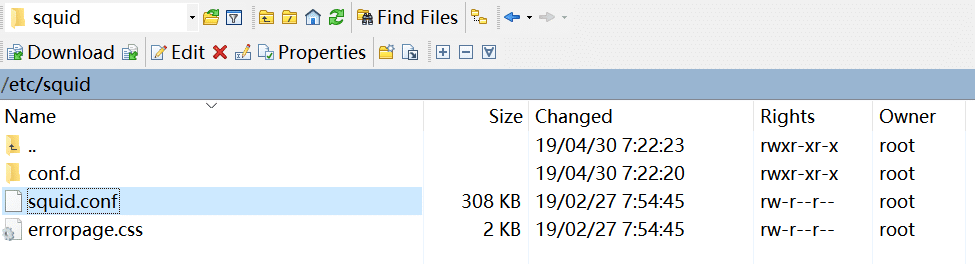
The main configuration file for squid is located in “/etc/squid/squid.conf” there are also a couple other files that you need to worry about in order to have a working installation of Squid.
- Squid Access log: /var/log/squid/access.log Squid
- Cache log: /var/log/squid/cache.log
These files allow you to monitor what is happening in your installation. If there are any problems when you are running Squid then you will be able to access the log files and see what happened.
Before you edit your squid configuration file, you should make a copy of it and you can do that with
sudo cp /etc/squid/squid.conf /etc/squid/squid.conf.originalsudo chmod a-w /etc/squid/squid.conf.original
sudo chmod a-w /etc/squid/squid.conf.original
This makes it easy for you to revert changes you’ve made if you ever want to go back to the original configuration file. It’s a good idea to always have a backup when you are messing with configuration files in Linux.
By default, Squid listens on 3128.
# Squid normally listens to port 3128
http_port 3128
It’s probably a good idea to change it and you can change it by doing
http_port 5555
Just change the 5555 to whatever port number you would like. You should focus on nonstandard ports because this gives you a good chance of not having your proxy discovered.
The next step is to change the visible hostname of the Squid install. It doesn’t have to be a valid hostname, nor does it have to anything identifiable. We will call ours gg.
visible_hostname gg
Now that we have it set up, let’s look at setting up access control. Right now no one is able to use your proxy server (Including you). You can change it so everyone can use your proxy but then that would make it a public proxy and we all know how that works. Let’s head to the ACL section of your squid.conf configuration file.
At the bottom of the ACL you should add
acl nameofpersonwhoshouldbeallowed src 192.168.42.0/24
- More Access Controls in Squid.
There is the name and then there is the IP address. You essentially create a rule for a certain IP address to be allowed to connect. There are more complicated methods of authentication, using htpasswd.
However, we won’t be worrying about that in this guide. Maybe for a more advanced guide In the future.
Add
http_access allow nameofpersonwhoshouldbeallowed
To the top of your http_access section. This now gives the user nameofpersonwhoshouldbeallowed permission to use the proxy server. You should always have authentication on your proxy server.
After you have done this then you simply restart the service.
sudo systemctl restart squid.service
Before I wrap this tutorial up, you can actually configure access in greater detail. For example, you can use much more complicated methods of authentication and you can even restrict usage based on the time and date.
However, this is for another tutorial. Hopefully, you found it useful, And I will share how to make your own residential proxies in the future, keep in touch!