There are countless proxy tools on the internet, and today, we’ll talk about one. Specifically, this guide will cover the step-by-step configuration for CCProxy, a popular choice with people who want a proxy server or need to use proxies for the web.
The advancement of the internet and its services means that we started to use them more and more in our daily lives. Some of them have been around for quite a long time, and as such, they have become things we rely heavily on. There are plenty of services, and the ones we’ll be talking about today are proxies.
Contrary to popular belief, proxies have been around for a lot longer than most people think. We’ve had these services for well over two decades, meaning the need for special tools has been around since then.
You’ll find a good number of tools from that era, but the one we often consider a pioneer is CCProxy, which is what we’ll be talking about today. Despite its age, this has been the go-to proxy tool for many people, which is why it’s still around for over 20 years.
In this guide, we’ll talk about what CCProxy is and how to configure the tool.
What is CCProxy?
Initially, CCProxy was a tool that allowed users to create a proxy server on a computer. At that time, internet access wasn’t available for all, so the initial use case was as a tool for modem sharing over a local network. As things changed, so did this tool, which meant that it got upgrades that people found useful.
One of the many use cases was for people to create a proxy server on their home computer and use it when they’re in another location. Sure, access to computers was a bit limited in those days, which is why it was mostly for business use cases. In many situations, the tool remained local, meaning that people would set up the server on their home or office network.
While this tool seems simple on the surface, it’s a much more powerful option than just creating the server. As a user, you have the option to manage every aspect of it. This covers bandwidth control, web filtering, general access, as well as time restrictions. It also allows you to log activities through the server, overview statistics, access monitoring, and a lot more.
The best part about CCProxy is its flexibility. It supports all the protocols you’ll ever need, like HTTP/s, FTP, SOCKS, and many more. This makes it the perfect option, regardless of whether you’re looking to use it at home or in an office.
A powerful tool like this one doesn’t come free. You can go for the trial version, and you’ll get a limit of 3 users, and you can use it for 30 days. After the trial period is over, CCProxy won’t work unless you pay for the license. If you like what you see, you can pay for it and have those limitations removed.
There are no differences in terms of the features between the trial and the full version. The company behind it won’t limit the set of features for the trial version because it’s the only way to discover the true potential of this tool.
How to Configure CCProxy?
Before we dive into the procedure, there’s an important thing to know. CCProxy is a powerful and complex tool, and covering every aspect means this guide will be way too long. To keep it short but informative, we’ll outline the basic configuration, which is enough to get you started. Once that’s done, you can start tinkering and fine-tuning your server.
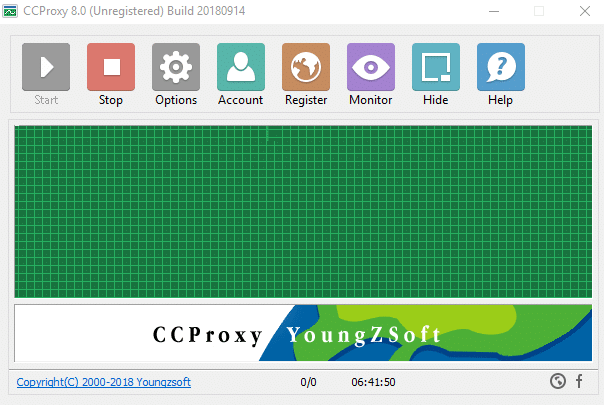
The first step is to have CCProxy installed on your computer. It supports Windows only, so if you’re using Linux or Mac, you’ll need to look for an alternative. Once it’s installed, you’ll need to run it.
Configuring the Server
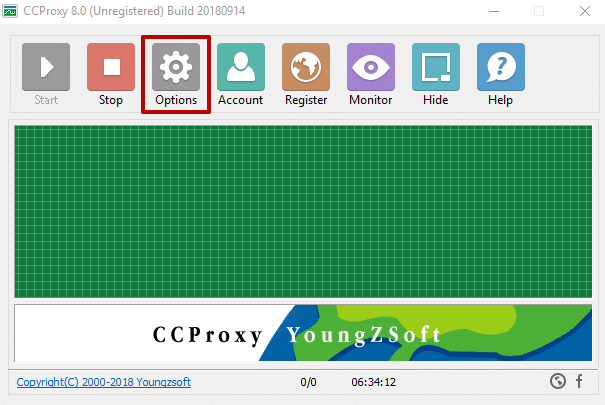
With CCProxy up and running, it’s time to set up the server. From the main window, click on “Options,” which will open up the configurator. The window has multiple options you’ll need to change based on your needs.
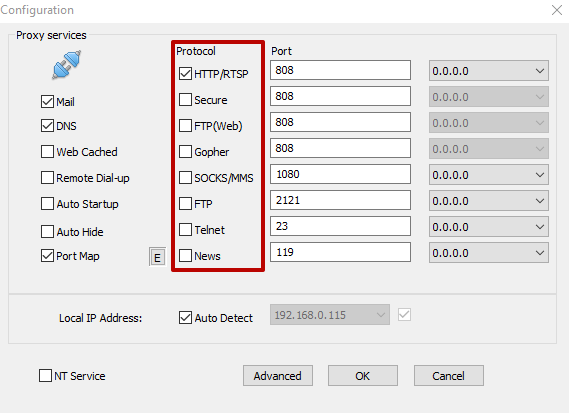
The first thing we’ll talk about is the protocols. CCProxy supports a plethora of those, meaning that you should choose the ones you plan on using. For example, if you plan on using this tool for web browsing, you should have the HTTP and Secure options checked. This part is individual, based on your use cases.
Next up are the ports. Out of the box, CCProxy populates these fields with the standard ports. Leaving these will cause a problem because two applications cannot listen to the same ports. To avoid this and any potential issues, we recommend changing these to some unoccupied ports.
Most of us know the usual ports used for FTP, Telnet, or browsing, but they aren’t the only ones actively used. To check if a port is used or not, you may want to head over to your Windows Firewall and identify the free ones. If it’s free, you can use it.
On the left side of the window, you have the proxy services. These are additional settings that you can enable to make your server run as close to your needs as possible. You can enable mail and DNS services, auto-start, auto-hide, and a few more.
Once you’re done setting everything up, double-check the settings and click “OK” to create the server.
Configuring the Permissions
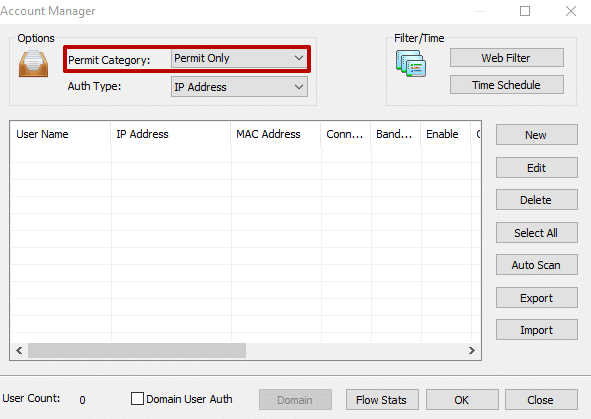
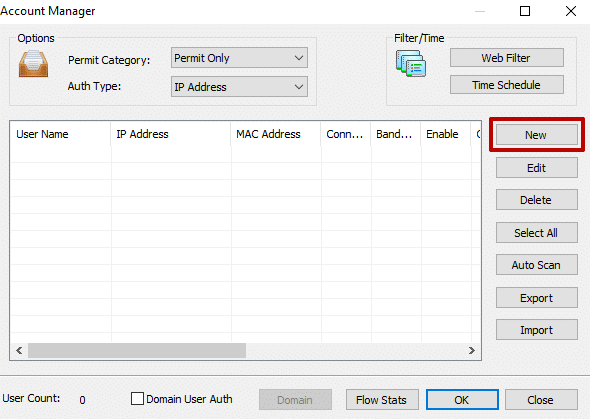
With the server settings aside, let’s talk about the accounts and the permissions. To access these settings, you’ll need to go to “Account” on the main window of CCProxy. A new window will open where you’ll need to set up a few things.
The first two options you’ll need to tackle are the “Permit Category” and “Auth Type.” Under the Permit Category, you’ll need to have “Permit Only” selected, while you have several options for Auth Type. You can authenticate a user by IP address, MAC address, username and password, username and password + IP, username and password + MAC or IP + Mac. This is to ensure that only selected users can have access to your proxy server. Select the preferred method and remember which one you’ve chosen because it’s crucial for the next section.
With that out of the way, it’s time to add the users, and you can do that by clicking on “New” in the same window as before. There are multiple options to tinker with, but we’ll go over the important ones. First, you’ll need to enter the user/group name. Next are the permissions. Based on the type of authentication you’ve chosen, you’ll need to tick that option in this section. Make sure you have all the information entered correctly; otherwise, the user won’t be able to access the server.
There are some additional settings to change, like bandwidth or time limits, filters, and a few others. Leave these as they are at the moment so that you can test if the server works. Once you confirm that, you can return to this and modify it.

After all the information is set, you can click “Save” and “OK” to close the window. If you want to add more users, just click on “New” and repeat the process.
Add Proxy to a User’s PC
With the CCProxy configuration out of the way, let’s talk about setting the proxy on a different device so you can use it. First, you need to get the proxy address from CCProxy, and you can do that through the configuration menu by navigating to “Options” from the main window. At the bottom of the window, there is a section for the “Local IP Address,” which is the proxy address you’ll use. Write down the address and the port depending on which protocol you plan on using.
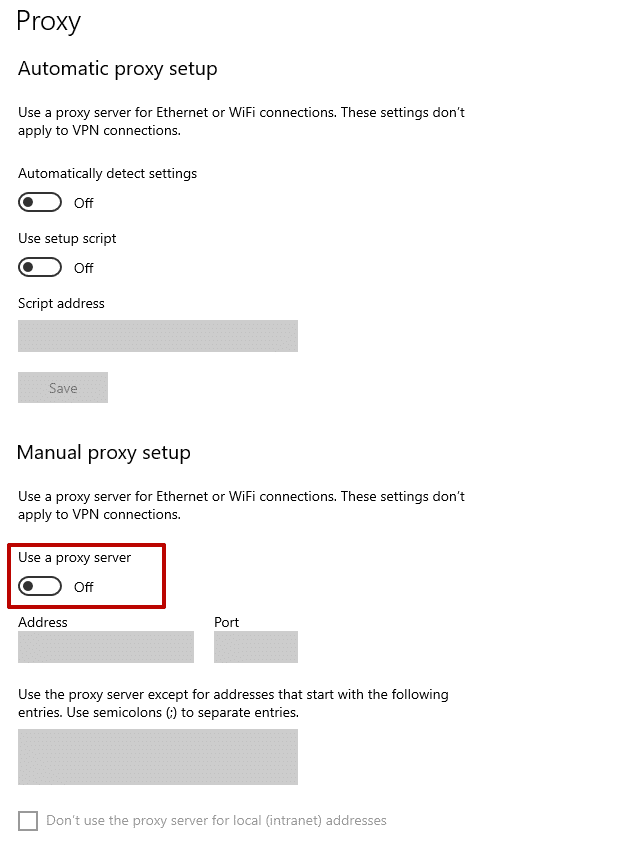
Once you have the address and port, head over to your Windows Settings. From the main menu, navigate to “Network & Internet,” and from the left navigation panel, click on “Proxy”.
On the bottom of the menu is a section called “Manual proxy setup,” where you’ll need to enable the option that says “Use a proxy server.”
There are two fields where you’ll need to enter the IP address and port you got from CCProxy. Once you enter the information, click on “Save,” and the device will be connected through the proxy server.
Conclusion
There are many proxy-related tools that have been around for a long time, and CCProxy is one of them. It may not be one that has the fanciest interface, but it makes up for that with tons of features and customizability.
Most veterans today have used it and know the ins and outs of CCProxy, but that doesn’t apply to all. Some users are new to this, which is where this guide comes into play. We outlined a step-by-step tutorial on how to configure a proxy server with CCProxy. As we mentioned, there are plenty of options to play around with, so this guide only covers the basic setup process.